Challenge: A Week of Using Vim
Where I’m starting from…
I’ve always used vim to write all my commit messages so I knew the two extremely basic things: going in insert mode with i and exiting vim with :wq and :q!.
In last couple years, I picked-up few more commands that I started using when writing commits (or going through log files). For example, deleting the current line with dd, searching with /pattern and n, going to end of file with G, and inserting into new line with o.
Before starting this challenge, I wanted to know few more basic keystrokes to give “a week of VIM” a real chance. So, I took a basic course on VIM which was an excellent introduction because every lesson came with small exercises. Here is my cheatsheet from the above course (though I recommend the actual course itself):
Link to vim cheatsheet: “Learning Vim” PDF.
Now, in this week, I want to explore fun things about vim, it’s potential to replace my VS Code workflows, and learn more vim motions. I’m not sure if I want to switch to vim completely yet, but I do want to start using vim motions wherever I code.
For this week, I’ve planned two things: 1) Do my normal day work. 2) Move my blog from an old gatsby template to a minimilistic hugo template. This should give me good opportunity to edit files in vim.
Let’s begin!
Day 1
It’s been difficult for me to get used to h/j/k/l controls, especially when all other screens still require arrow keys. For example, switching workspaces, tabs, or terminal split windows.
The real magic of these controls is pairing them with y or d. Maybe because I knew about dd, all other delete commands seem more intriguing to me. Whenever I have some text I need to yank or delete, I find fun ways to do it in one go. Maybe simple 10dd (delete 10 lines) or dw (delete a word). The most helpful is d$ to delete from current character to end of line, which is also easy to remember because its a regex character.
Another section of commands that I found helpful were those that did not involve exiting normal mode. Like delete a character with x or replacing characters with r. Example, to replace double quotes with single quotes with r'.
It was also helpful to jump around in a file with 0 (start of line), $ (end of line), gg (beginning of file), and w/W/b/B (jump words). If you enable relative lines (by adding set relativenumber to ~/.vimrc), it becomes so much easier to use 10j/10k to jump few lines above or below. Without relative lines, I used <line_no>G which is just as good, except if you are on huge files where you have to type 1024G.
The most useful command is repeating last command with . - genius!
Today, I was mostly working with single files without much help needed from editor. I have a few plugins installed from vimawesome.com like NerdTree, CtrlP, and vim-fugitive. But there are many IDE features I need to figure out for vim. Example, gitgutter view to see if a line is modified/added.
Day 2
I spent this day more on debugging than writing code, and I found myself skipping terminal window and going to VS Code to look at the code I was debugging.
I was able to go through log files quicker with commands like ctrl+b and ctrl+f for page up/down, searching with /<pattern>, and using undo u and redo ctrl R to fix accidental changes.
Day 3
Today’s focus: get work done!
Replacing an IDE for vim feel like working with hands tied behind my backs. In search of vim alternatives for useful IDE features, I found LazyVim and decided to try it. It’s a pre-configured neovim setup which uses lazy.nvim plugin manager.
The best thing about LazyVim is that it uses which-key plugin to show an interactive help menu to learn/explore key-bindings.
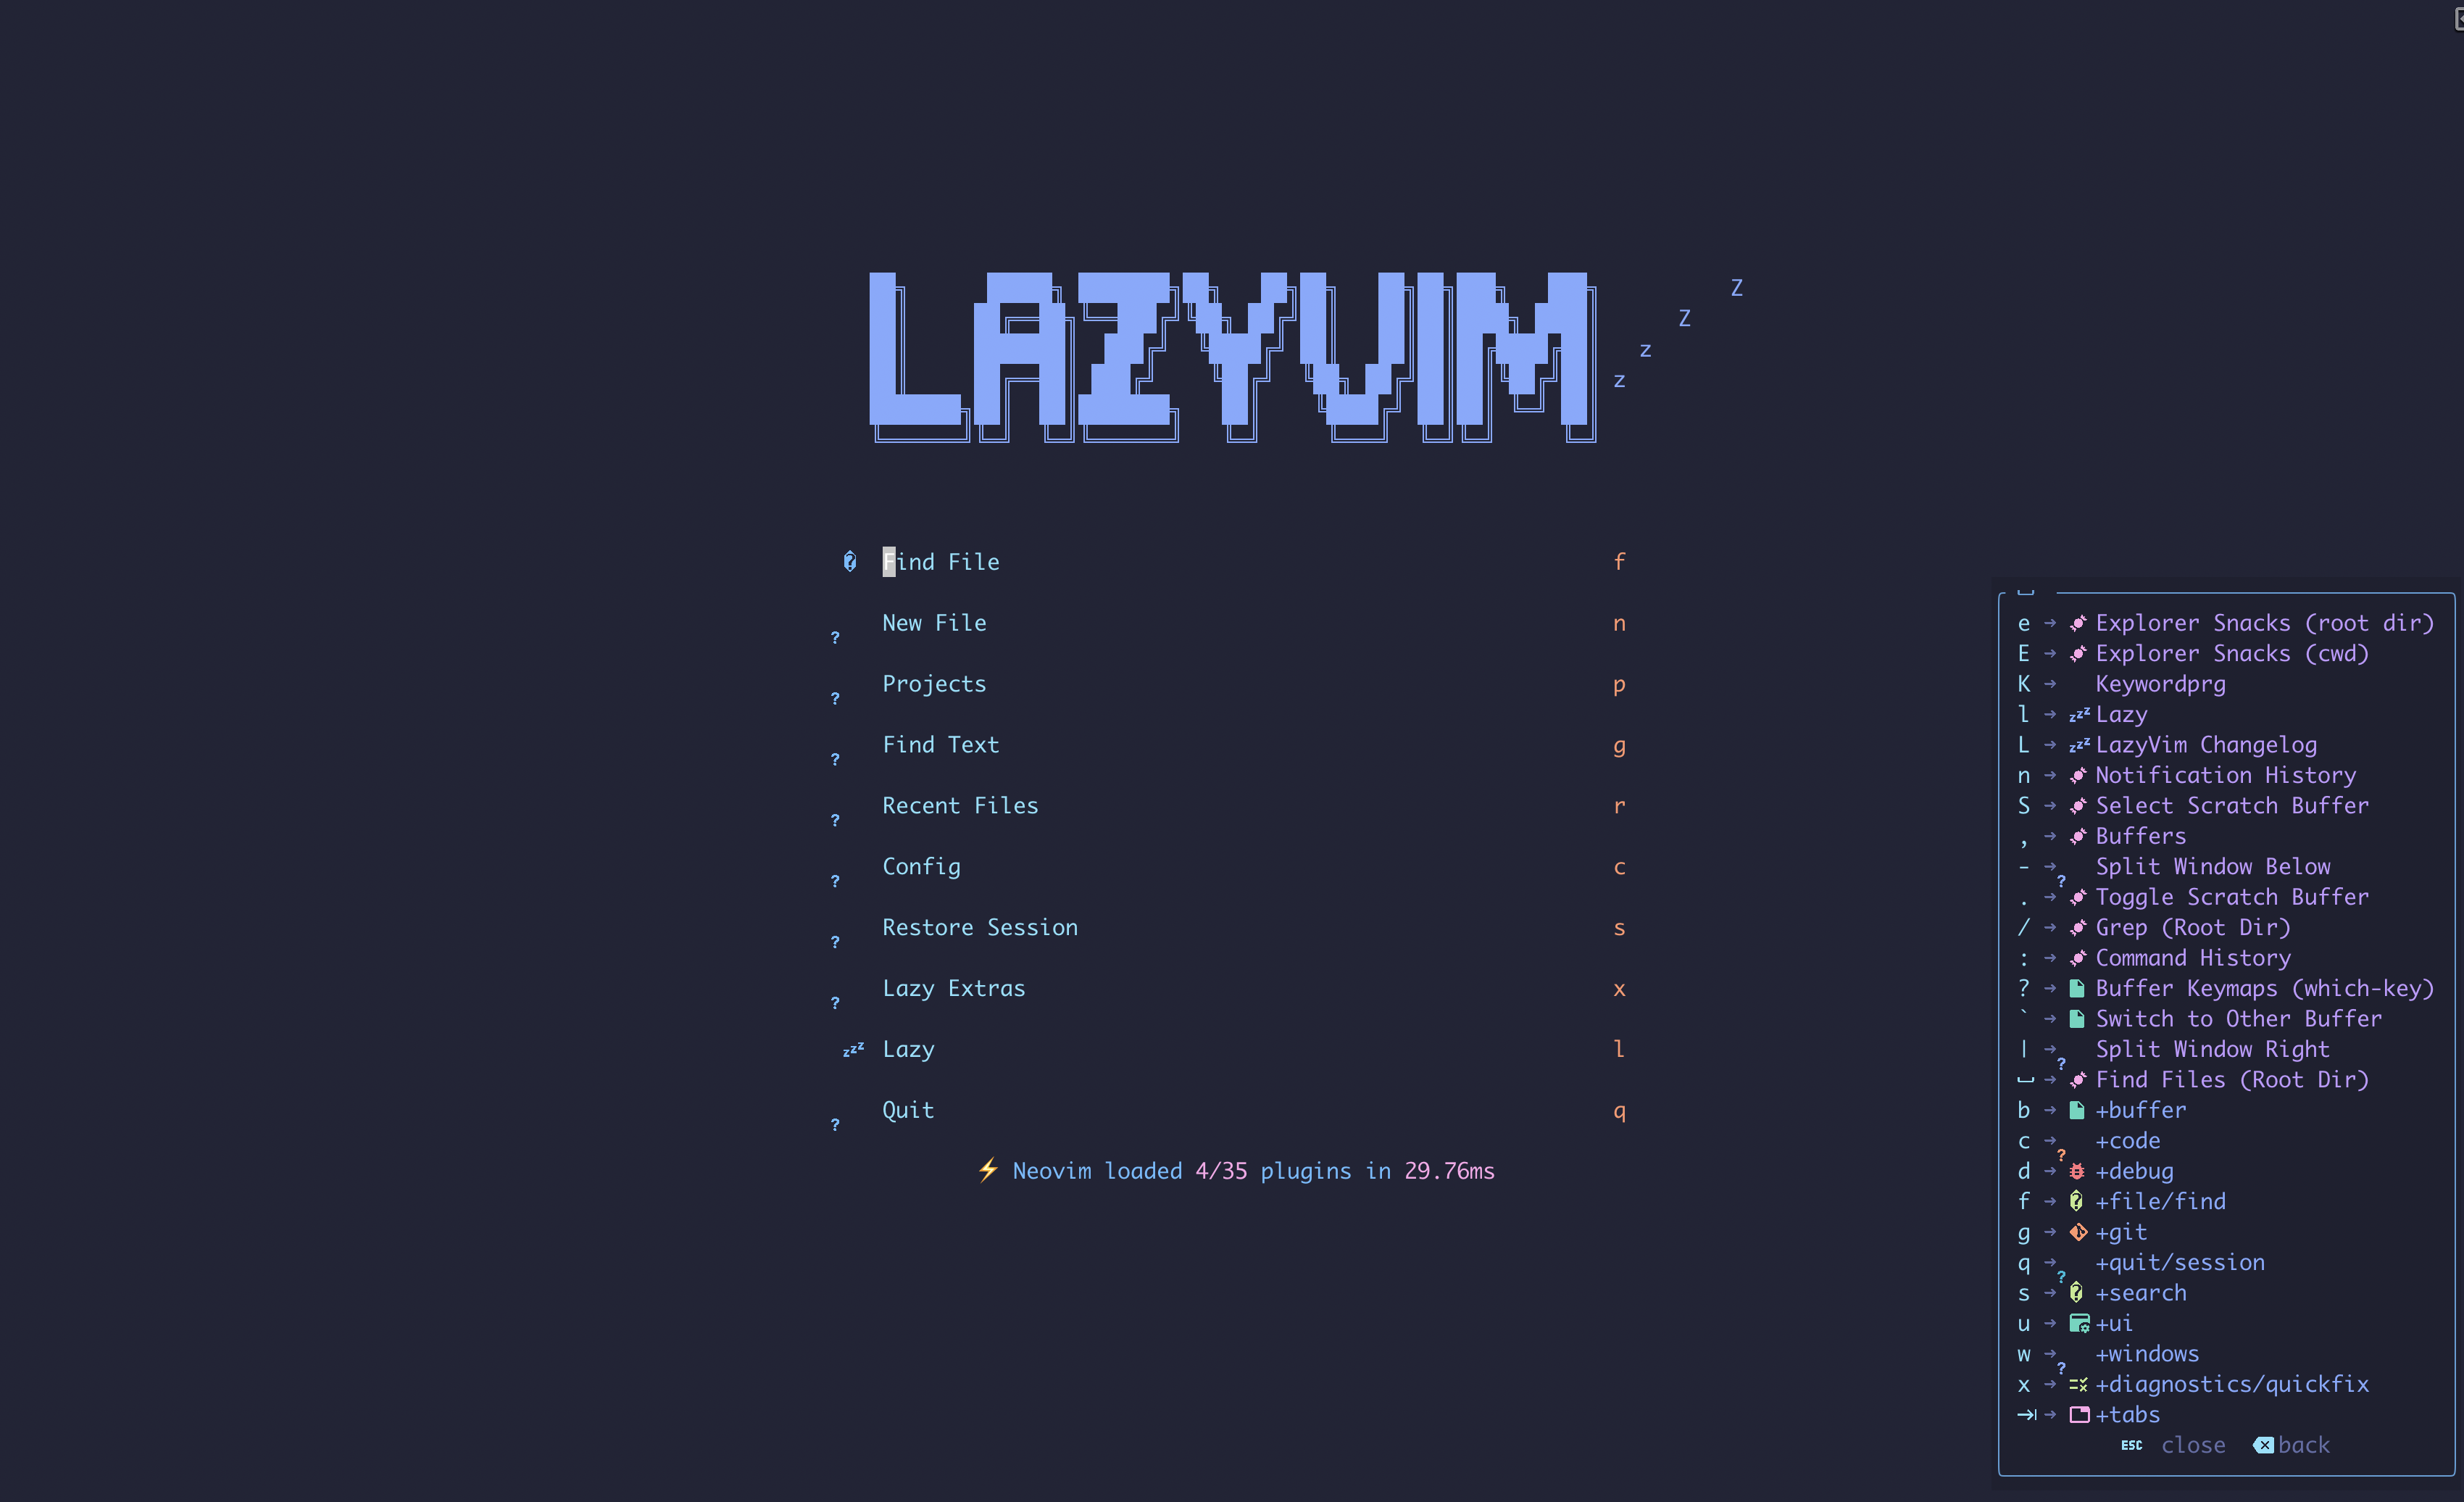
LazyVim is super easy to install and setup. On first load, I couldn’t see many icons on iTerm terminal on MacOS but LazyVim is entirely useable without the icons. Though seeing ‘?’ everywhere started to bother me, so I was able to fix it by installing a NerdFont and allowing iTerm to use that font (reference this).
It almost felt like cheating to use a pre-configured setup like LazyVim but it’s the most realistic way to replace all of the amazing features of an IDE.
With this new setup, I was able to navigate around more easily and got more stuff done today by using <leader>e to toggle explorer picker, code completion, spell check in markdown files, gitgutter indicators that a line has been modified/added/deleted, and preview of what was yanked when yanking it. It also really helps that when searching with /pattern, it shows the number of occurrence like [1/12].
Day 4
Today’s focus: global search and windows.
Most work requires working on multiple files, which means searching files to edit and switching between them. I was able to work with multiple windows by creating a verticle split using ctrl+w v and horizontal split using crtl+w s. To move between windows, I can use ctrl+w h/ctrl+w j/ctrl+w k/ctrl+w l but I found myself preferring ctrl+w w (move to next window). These commands also work on vanilla vim without any plugins.
For searching, snacks.nvim picker allows an excellent view to fuzzy-find. I am most interested in searching for file names and searching text throughout the project - two features which made navigation in VS Code very easy for me.
I was able to search file names in a project’s root directory with <leader>ff (or shorter command <leader><spacebar>).
For searching text throughout all files in a project, I used <leader>sg (or shorter command <leader>/). And to search text for files in the buffer, I used <leader>,.
I also made use of registers a few times. I used unnamed register to get latest deleted text and “0 register to get latest yanked text. I also yanked a part of json to a named register (example "z 20yy) and pasted it whenever I needed it using "z p. Vanilla vim has command :reg to view content in all registers, but I found LazyVim offers a better view with <leader>s".
I got more comfortable with vim motions as I moved onto using text objects to yank stuff. Example, to yank text within quotes with yi" (or text+quotes using ya").
Day 5
Today, I explored ways to switch between files without creating extra windows.
This included working more efficiently with buffers. I used :ls to look for files in the buffer but LazyVim offers a better view with <leader>fb. To switch between buffers more quickly, I can use ]b to move to next file in the buffer and [b to move to previous file in the buffer. Remove a file from buffer with <leader>bd.
Some great tips about using buffers on LazyVim docs here.
To get a better look at git diff, I used whick-key to explore and found <leader>gd to look at git diff. And a view of git status with <leader>gs. LazyVim includes this plugin which makes this possible.
Day 6
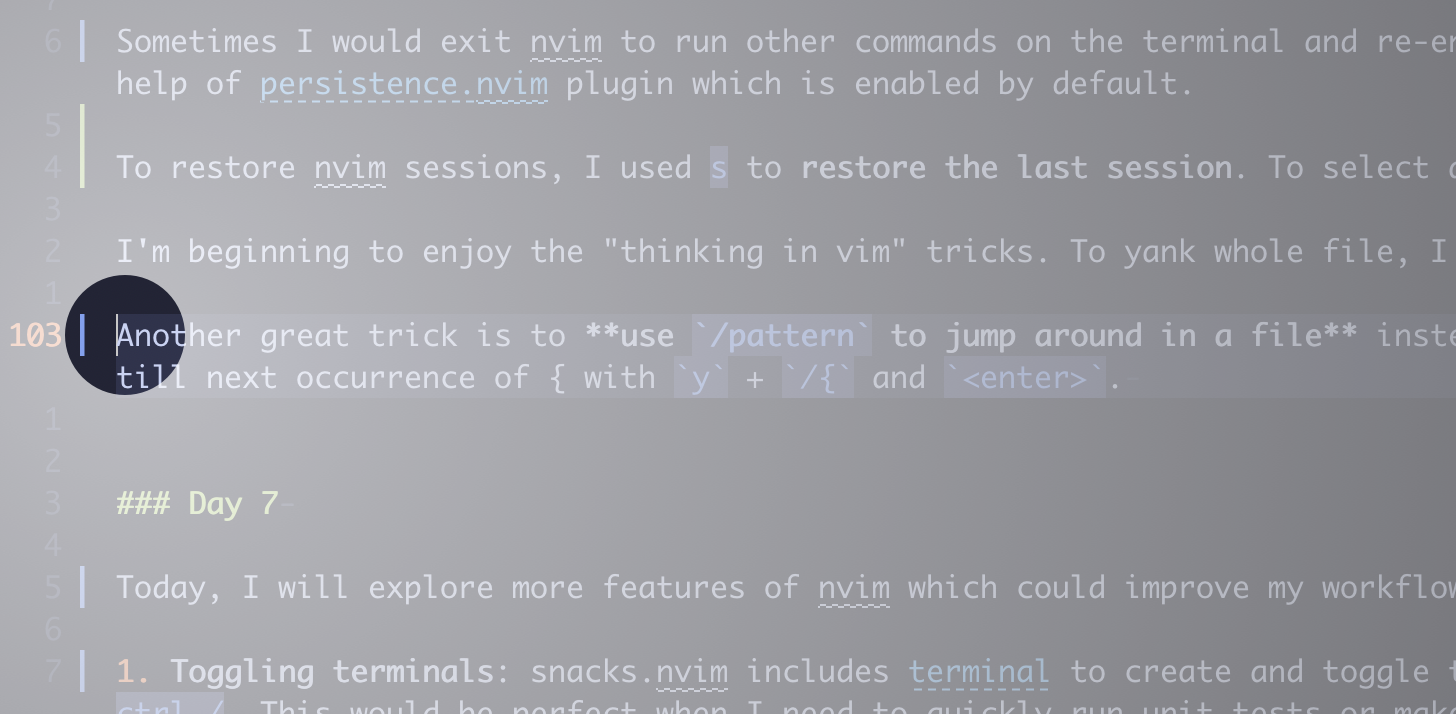
Sometimes I would exit nvim to run other commands on the terminal and re-enter with nvim ., only to see none of my buffer files and windows there anymore. Luckily, LazyVim offers sessions with help of persistence.nvim plugin which is enabled by default.
To restore nvim sessions, I used s to restore the last session. To select a session from list of past few sessions, I used <space>qS.
I’m beginning to enjoy the “thinking in vim” tricks. To yank whole file, I jumped to first line with gg, then paired a known vim motion with yank command yG to yank entire file.
Another great trick is to use /pattern to jump around in a file instead of only using it to search for something. We can even pair it with other commands. Example, we can yank till next occurrence of { with y + /{ and <enter>.
Day 7
Today, I wanted to explore features in nvim that can improve my workflow.
-
Toggling terminals: snacks.nvim includes terminal to create and toggle a terminal quickly within nvim using
ctrl /. This would be perfect when I need to quickly run unit tests or make a commits, no need to exit nvim! -
Persistent note: snacks.nvim includes scratch which provides a persistent notepad to store text with
<leader>.. This looks like an excellent feature that I know I’ll abuse a lot! -
Open files from different project: on workdays, I usually have multiple VS Code windows open to switch between different repositories. I (and my computer) would love to not have that!
<leader>fpusesfindto open the file from another project.
Accidentally found an amazing feature: if you can’t find your cursor, use command / and it will highlight where your cursor is! Not sure if I’ll remember it when needed, but it looks very cool.
Reflection
I’m glad I did a vim tutorial before starting this challenge. It’s great to know what I can do, even if I didn’t remember all the key-binding.
Successful Takeaways:
- Better search - I found the global search preview in LazyVim setup better compared to VS Code.
- Better code selection - vim motions allow easier selection of text (though a vim plugin can fix this in VS Code too).
- Registers! Using multiple places to store copied text is AMAZING!
- Repeating actions with
. - Better markdown view - markdown files in nvim collapse links, suggests word completion, highlights text within
backticks, etc. - Macros to record and replay actions - even though I didn’t get to use them this week, I practiced them in the vim course and it’s another AMAZING feature!
Difficulties:
- I’m still pretty poor in using
hjklto move around, I default to using arrow keys and only remember them when I need to pair them with some action likey2j - Use of
/patternstill feels too unnatural to me. - Most of the commands require some cognitive attention, which is not helpful when you are concentrated on coding/debugging something. More use and practice should fix this.
- For some reason, symbols are again appearing as ‘?’ all over LazyVim even though I have the font added and configured. It’s bugging me again, so hopefully next fix would last longer!
This week, I was able to create some basic setup and workflow. There is so much more to explore here that I might just continue using nvim.
In future, I want to explore more of these features in nvim:
- Advanced searching - I make use of VS Code’s global search with “files to include” and “files to exclude” filters. Along with toggling “match case” whenever needed. For it’s vim alternative, I plan to look into fzf search syntax and read more about what nvim offers.
- Try merge conflict - I’m not sure how that would work yet in nvim!
- Copy full path of current file.
- Create new files or move files between sub-directories.
- Toggle between project - instead of opening a file from another project, it would be awesome to switch between projects and have their sessions saved between switches.
- View unsaved changes - I’m scared to do
q!instead ofwafter an edit.
Hope you enjoyed reading this!
:q! (oops!)